

*slams fists on desk*
New bed! New bed! New bed!
Ok- so like a month ago the cedar raised bed kit I like went on sale and I grabbed it up knowing I was planning a few more.
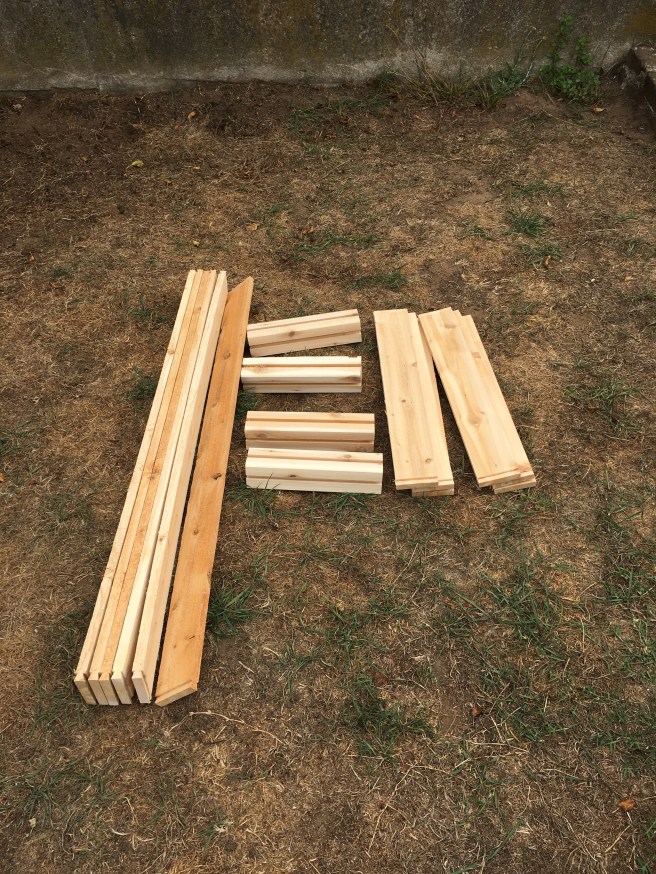
It’s a pretty basic design- 4 corner pieces, 6 short pieces, 6 long pieces. There’s also 4 little caps for the tops and nails or screws to fix the little caps to the tops of the corner pieces. Now- I don’t use those. I like the idea that if I had to disassemble them I could, so I just recycle the wood caps. (And save the screws/nails, never know when you’ll need some.)
The only tool you need to put this type of raised bed together is a mallet.
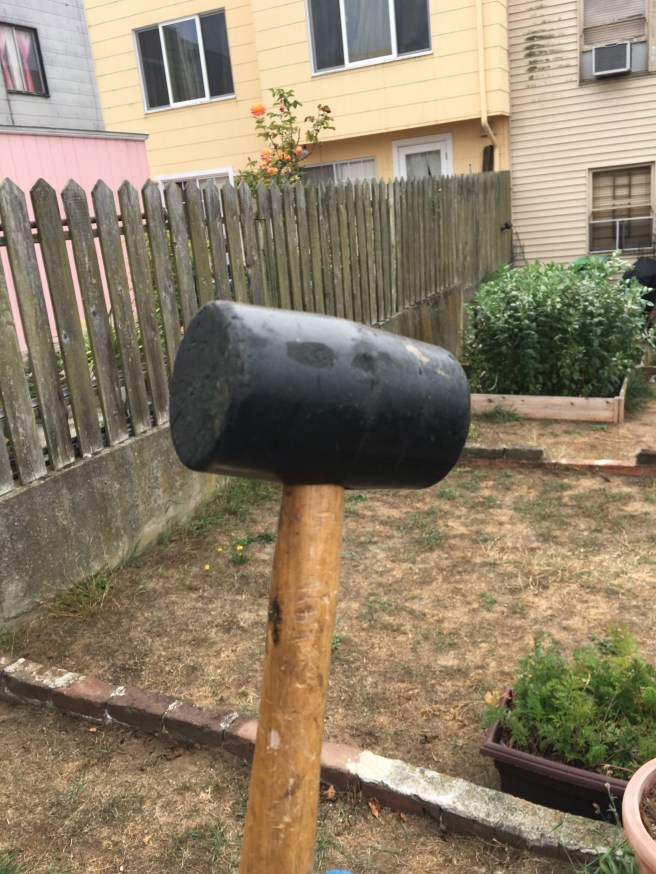
Pictured: one mallet.
Now the instructions say you can do this with your hands. I call bullshit. I’ve put 4 of these types of beds together at this point- two 4×4, one 2×4 like the one I put in today, and the 2×8 that housed the beans. And because these are on the cheap side- the wood isn’t always cut exactly so… you’re gonna want a mallet.
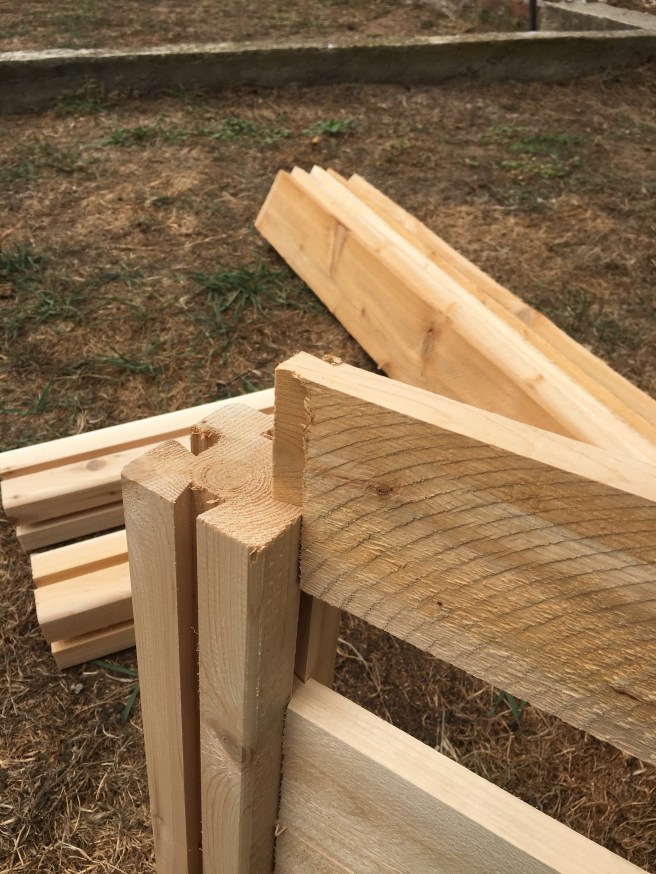
I also recommend some kind of sturdy garden glove- because as you can see by this picture the wood is a little splinter-y. This one actually came together real easy. As I was putting it together I was thinking- huh, probably didn’t need a mallet. Another quirk of this kind of bed is-

Well the boards aren’t always totally straight. But honestly it’s going against the wall so who cares if it’s a little bulge-y. For what I’d paid… I’ll take it. I like these cedar numbers because cedar wood repels certain kinds of bugs and nasties. Just a little added help if, like me, you don’t use the big gun pesticides.
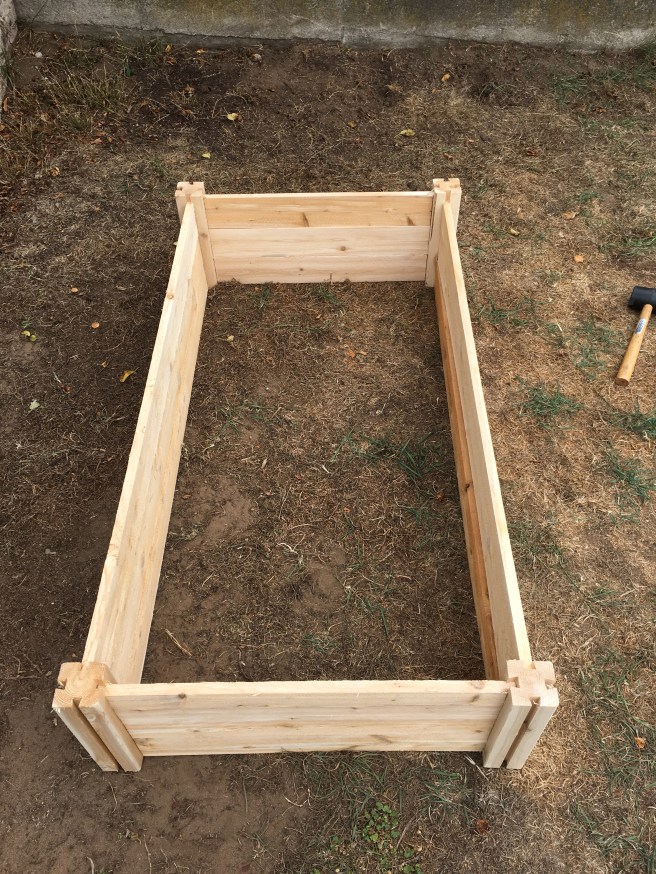
Boom!
Before I can put it together against the wall, I had to weed and level the area. At this time of year the weeds aren’t too bad, but whatever you can get rid of makes for less work down the road. I also leveled it by using a shovel and weirdly, a long handled ice scraper?!?! I found it in the shed of doom. (WTF dad, why the heck do you have a long handled ice scraper?) it honestly made for good leveling so…
In a perfect world I’d put pavers or stones down under the bed for a weed free raised bed. Instead I use weed barrier.
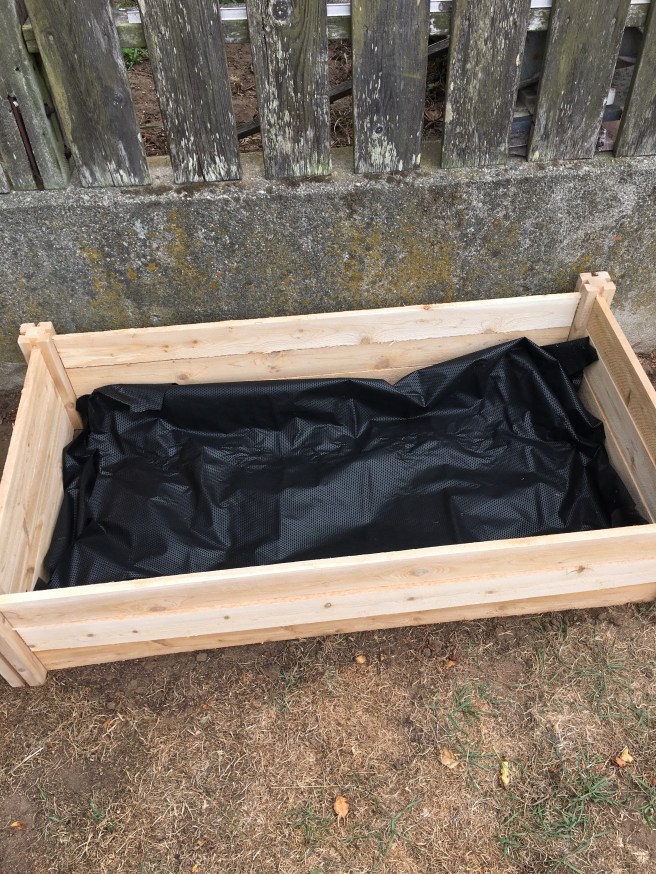
Completely optional. If I didn’t have a leftover roll of it- I honestly wouldn’t use it. My number one advice about weed barrier is to not use the staples some people do to fully secure the weed barrier. I did on one of the old beds I put down- and when I ripped it up, I missed a few of the staples and my dog nearly ate a few. It’s just unnecessary and it can easily become a problem.
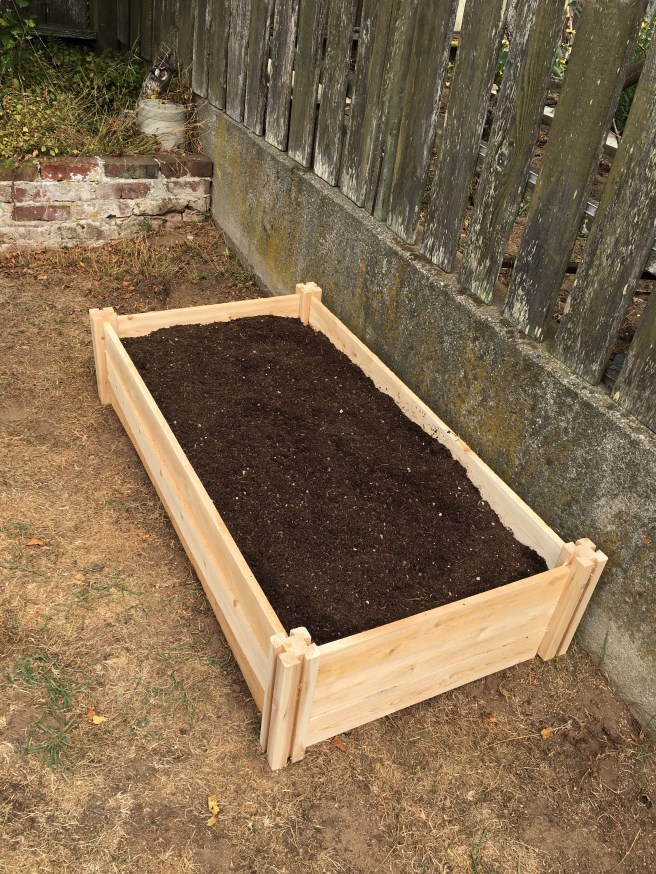
Three bags of soil filled it- my trick is to shake some basic granulated fertilizer after the first bag- EB stones is good, but whatever works- then put the other bags down. Once my spinach sprouts it’s getting put in here!
By the way- you totally don’t have to buy a specialized raised bed like I do. You got some wood and nails? Make your own! You got a few boxes? Line it with some garbage bags and fill it with dirt! Raised beds can be complicated- or very simple.
This one is in a good slightly shaded spot perfect for spinach which isn’t the biggest fan of tons of sun.
Not that that’s a problem right now.

Pictured: my feelings about the weather.

Heya! Too late for this bed, but in future, or at least while newspaper is still in print: 8 – 10 sheets of nonglossy newspaper, laid down and then soaked thoroughly with water, makes a really effective weed barrier that will eventually biodegrade. Roots can grow down through it, if they’re sturdy, but weeds can’t grow up through it. Bonus, you can usually get it for free by asking your neighbors or watching curbs on recycling day.
Your garden looks great!
In case it’s not obvious: wet newspaper UNDER new soil.
I think you actually can put it on top to kill weeds and then put new soil on top as well- something to keep in mind for future beds as well!